
Testing out Cloudflare D1 and Making a Link Shortener
Making a simple link shortener to test out Cloudflare Workers and their new Serverless SQL database (D1)
Cloudflare recently launched its new D1 Serverless SQL database service into Open Alpha. I decided to test it out by making a simple link shortener. This was already previously possible through KV (key-value) storage, but D1 provides a more structured way of storing data allowing you to potentially expand upon this base in the future (for example adding account system to track what links were shortened by who).
It should be noted that Cloudflare D1 is NOT production ready, and during Open Alpha there is the possibility of breaking changes to be introduced which may interfere with service.
Cloudflare has promised that there will always be a free-tier available for D1, so need to worry about data being deleted after the Alpha period ends. Currently the free tier is 5 million reads and 100,000 reads per day. Storage is limited to 1 GB total for free tier (however during Open Alpha this is limited to 100 MB for everyone).
Setting up a Worker and D1 Database
First, we’ll need to set up a Cloudflare Worker project using the “Hello World” template.
$ npm create cloudflare@latestBe sure to select No to if you’ll be writing TypeScript
Next we’ll create a D1 database with , you can also do this through the Cloudflare dashboard.
$ wrangler d1 create DATABASE_NAME

✅ Successfully created DB 'DATABASE_NAME'

[[d1_databases]]
binding = "DB" # i.e. available in your Worker on env.DB
database_name = "DATABASE_NAME"
database_id = "unique-ID-for-your-database"
Save the information about the database somewhere, we’ll need it later.
Configuring wrangler.toml
Go ahead and open the project folder that was generated for you and open up wrangler.toml. We’ll need to bind our D1 service to our worker to interface with it.
Append the database information from earlier to the end of the file.
[[d1_databases]]
binding = "DB" # i.e. available in your Worker on env.DB
database_name = "DATABASE_NAME"
database_id = "unique-ID-for-your-database"
If you set up your database through the Cloudflare dashboard, you can find your database_name and database_id by going to Cloudflare Dashboard -> Workers & Pages -> D1 -> Select your database
Setting up the Table
Now let’s create the table that maps our shortened URL to the original URL. We’ll do this by creating a new schema.sql file in the root of our project
DROP TABLE IF EXISTS short_urls;
CREATE TABLE IF NOT EXISTS short_urls (
    id INTEGER PRIMARY KEY AUTOINCREMENT,
    url VARCHAR(255),
    short VARCHAR(255) UNIQUE,
    created_at TIMESTAMP DEFAULT CURRENT_TIMESTAMP
);
We can then use the wrangler to create the table within our database. We’ll add the --local flag for now to test our code locally before deploying it.
wrangler d1 execute covers-archive-data --local --file=./schema.sqlWriting the Worker
Now we can start writing the code for our Worker. Go ahead and open up worker.js or whatever the main file is for your project. I’ll be using Hono as my web framework.
First let’s initialize our Hono app and add CORS headers to our response (since we may be making requests from other domains).
import { Hono } from 'hono';
import { cors } from 'hono/cors';

const app = new Hono();
app.use('/api/*', cors());
Adding URLs to the Database
We’ll use a POST request when we want to shorten a URL, so let’s first add a route for that
app.post('/api/new_shorten', async (c) => {
	const { url } = await c.req.json();
	if (!url) return c.text('Missing value for URL');
});
This route will accept a JSON body with a url property. If the url property is missing, we’ll return a error. However we’ll also want to check if the URL is valid, we’ll add some validation for this using the URL constructor.
function is_valid_url(string) {
	try {
		new URL(string);
		return true;
	} catch (_) {
		return false;
	}
}

app.post('/api/new_shorten', async (c) => {
	const { url } = await c.req.json();
	if (!url) return c.text('Missing value for URL');
    if (!is_valid_url(url)) return c.text('Invalid URL');
});
Next we’ll need to write a simple function to generate a random string to use as our shortened URL.
const LENGTH_SHORTEND = 6; // Length of the shortened URL ID

function generate_new_shorten() {
	let result = '';
	const characters = 'ABCDEFGHIJKLMNOPQRSTUVWXYZabcdefghijklmnopqrstuvwxyz0123456789';
	const charactersLength = characters.length;
	for (let i = 0; i < LENGTH_SHORTEND; i++) {
		result += characters.charAt(Math.floor(Math.random() * charactersLength));
	}
	return result;
}
There’s always the very unlikely chance that we generate a shortened URL id that is already in use, so we’ll need to check if it’s already in use and generate a new one if it is. We’ll limit this to 3 tries before giving up in case we somehow end up with an infinite loop.
app.post('/api/new_shorten', async (c) => {
	const { url } = await c.req.json();
	if (!url) return c.text('Missing value for URL');
	if (!is_valid_url(url)) return c.text('Invalid URL');
	let retryCount = 0;
	let shorten = generate_new_shorten();
	while (retryCount < MAX_RETRIES) {
		const { success } = await c.env.DB.prepare(
			`
			SELECT * FROM short_urls WHERE short = ?`
		)
			.bind(shorten)
			.all();
		if (success) {
			break;
		}
		retryCount++;
	}
});
Let’s break down the D1 query a bit here.
c.env.DB- DB is the name we bound our database to inwrangler.tomlprepare()- Pass in the query we want to execute (preparing it)bind()- Bind the parameters to the queryall()- Execute the query and return all results
If the result is successful we want to break out of the loop, otherwise we’ll generate a new shortened URL and try again.
Let’s add a check to see if we’ve exited the loop due to exceeding the maximum number of retries and return an error
if (retryCount === MAX_RETRIES) {
    return c.text('Failed to generate shortened URL');
}
Now that we’ve confirmed that the shortened URL is unique, we can add it to the database.
export async function getHostname(request) {
	return new URL(request.url).hostname;
}

const { success } = await c.env.DB.prepare(
    `
INSERT INTO short_urls (url, short) VALUES (?, ?)`
)
    .bind(url, shorten)
    .run();
if (!success) {
    return c.text('Failed to generate shortened URL');
}
const hostname = await getHostname(c.req);
return c.text("https://"+hostname + '/' + shorten);
You can of course handle appending the hostname in the front-end but I’ll just do it here for simplicity. ALso note that because we are not expecting any results from the query, we can use run() instead of all().
Go ahead and fire up the development server and test out the route. If everything works correctly, you should see a shortened URL as the response.
curl -X POST -H "Content-Type: application/json" -d "{\"url\": \"https://www.example.com\"}" "http://127.0.0.1:8787/api/new_shorten"https://127.0.0.1/3Z2Q1dand also verify that the shortened URL has been added to the database
wrangler d1 execute DATABSE_NAME --local --command='SELECT * FROM short_urls'Redirecting to the Original URL
Now that we can add URLs to the database, let’s add a route to redirect to the original URL. We’ll use a GET request for this route.
app.get('/:url_id', async (c) => {
	const { url_id } = c.req.param();
	const url = await c.env.DB.prepare(
		`
    SELECT url from short_urls WHERE short = ?`
	)
		.bind(url_id)
		.first('url');
	return c.redirect(url);
});
In this case I’ve used the first() method instead of all() since we are only expecting a single result. We can then redirect the user to the original URL.
Deploying
Let’s deploy our worker and test it out.
$ npm run deployYou should get a URL where your worker is deployed. Go ahead and test out adding a URL and then visiting the shortened URL. You should be redirected to the original URL.
Now you can bind your custom domain to your worker and you’ve got your own URL shortener!
A Simple Front-end (Extra)
We’re basically done with our backend, but maybe you want a simple front-end to go with it since writing out curl commands is not very user friendly. While support for serving static pages is a bit limited on Cloudflare Workers (and if you write the HTML right into the worker, it clogs up the code), we can deploy our front-end through Cloudflare Pages.
I have a very simple static template to serve as a base for the front-end here.
git clone https://git.pinapelz.moe/pinapelz/link-shortener-static-template.git
cd link-shortener-static-template
The only thing you’ll need to change is the fetch url in script.js to whatever your worker URL is. Then we can deploy it to Cloudflare Pages.
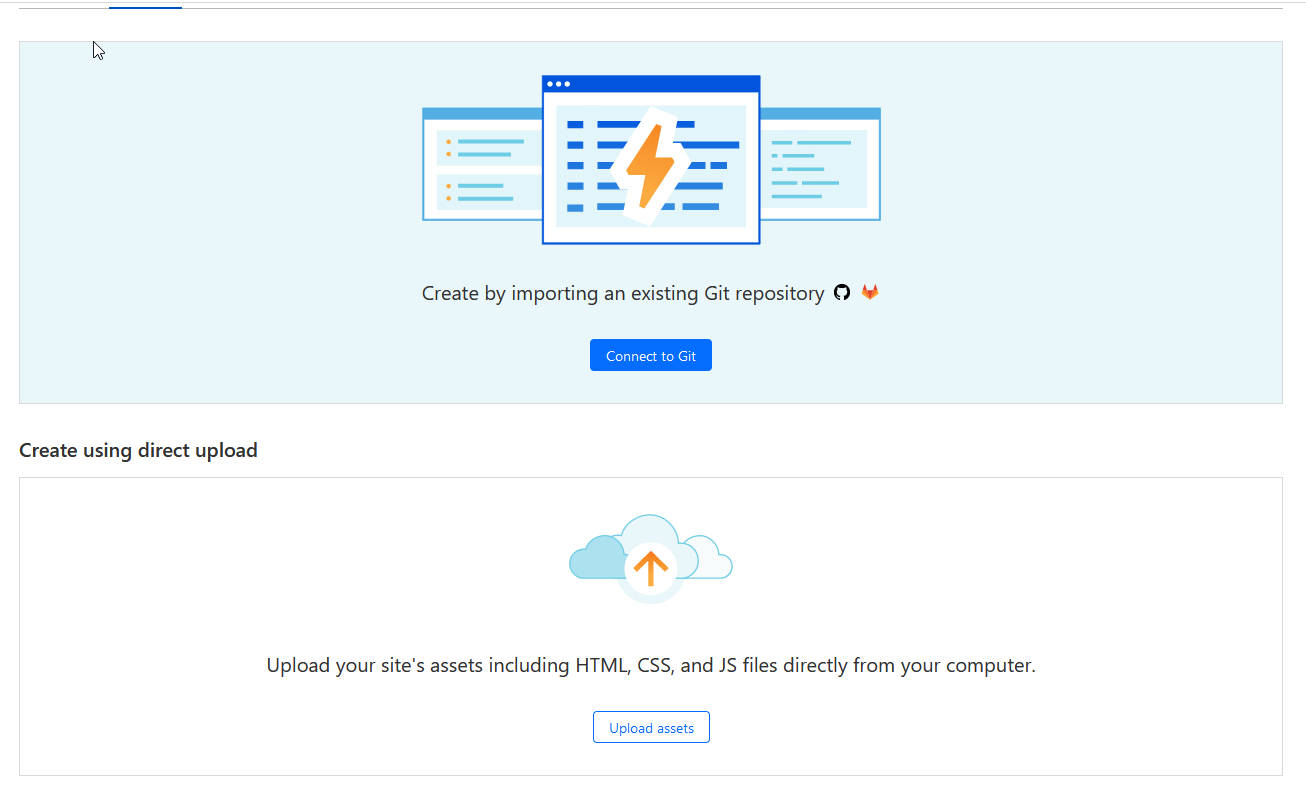
For demonstration purposes I will be simple uploading the folder containing the static files to Cloudflare Pages, but you can of course upload the files to your own repository and link it to Cloudflare Pages for automatic deployments.
and just like that our front-end is deployed. You can now visit the URL and test it out. Mine is deployed here.
One last thing is you might want people who navigate to your root domain on your link shortener API to be redirected to your front-end. We can do this by adding another route to our worker.
app.get("/", async(c) =>{
	return c.redirect("https://shorten.link.pinapelz.com") // TODO: Change this to your own frontend
});
My API is deployed at https://link.pinapelz.com. So now if anyone navigates there, they will be redirected to my front-end.
Conclusion
This was a fun little project to try out what D1 is like. I have to say that its quite easy to use and Cloudflare has done a good job of integrating D1 with Workers. There are reported issues with speed when using D1, but I haven’t noticed any issues with my worker. They are also deploying a new version of D1 with an experimental backend too which will significantly improve performance.
You can find the complete source code here